
A huge thank you to Diana of Sew Very Crafty for sharing this DIY Breastfeeding Cover tutorial with us! I know all my nursing mamas who sew will love to try this one out.

Ever looked at a breastfeeding cover and thought “why buy this when I could make one myself?” This nursing mom essential can be made in an afternoon from a wide variety of fabrics that you can find at Fabric.com and Hobby Lobby. I created this project so that the new mother can have a breastfeeding cover that is beautiful, sturdy and functional.
This post contains affiliate links that if you click on them and make a purchase I may receive a small commission at no extra cost to you.
This is a simple sewing project that only requires beginner sewing skills, a yard of fabric, parachute clips and some boning. Don’t stress about the boning it is very easy to work with and is readily available at any fabric store.
In this project I used two different fabrics but you could use one or more if you like. For the top and the straps, I used a home decorator weight fabric for sturdiness and a lightweight quilting cotton for the rest of the body.
Breastfeeding Cover Supplies
- 26″ x 32″ for the bottom of the cover (you can make larger for older and bigger babies as well)
- 32″ x 6 1/2″ coordinating or contrasting fabric for the top of the cover if doing a contrasting strip.
- 20″ x 4″ for one side of the strap using coordinating or contrasting fabric
- 9″ x 4″ for the other side of the strap using coordinating or contrasting fabric
- Boning 14″ long
- 1 parachute clip or 2 D-rings. I chose to use a parachute clip for mine.
- Standard sewing supplies including wonder clips
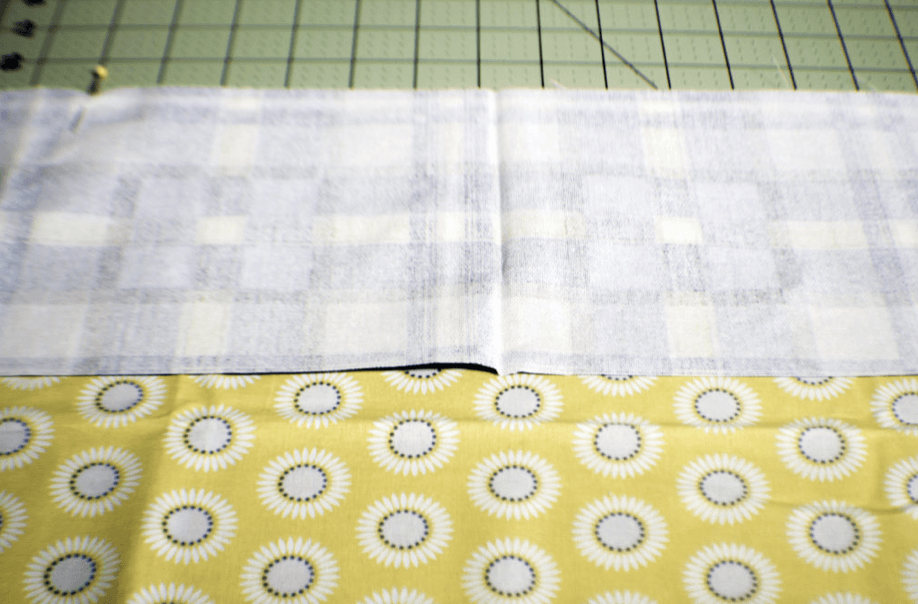
Step 1: How to Sew a Breastfeeding Cover
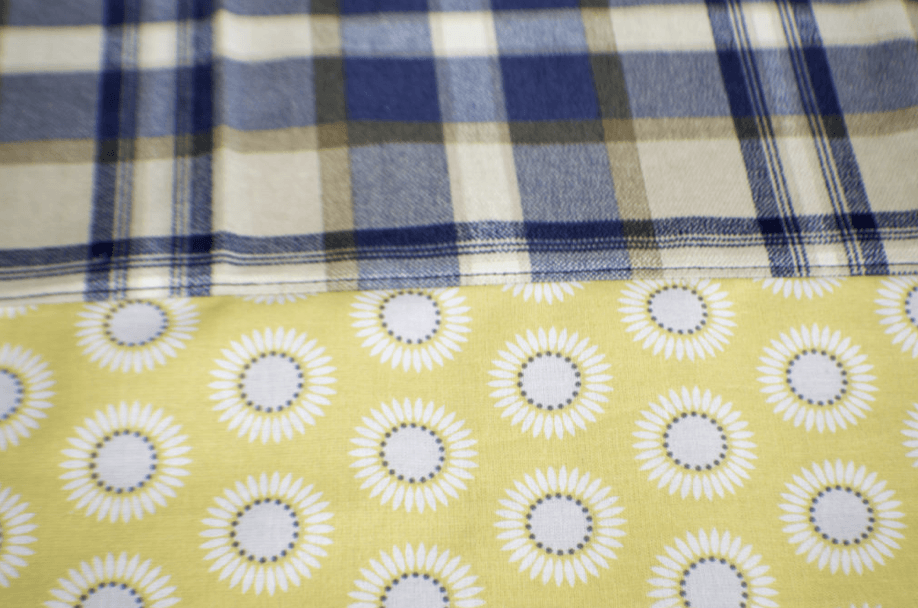
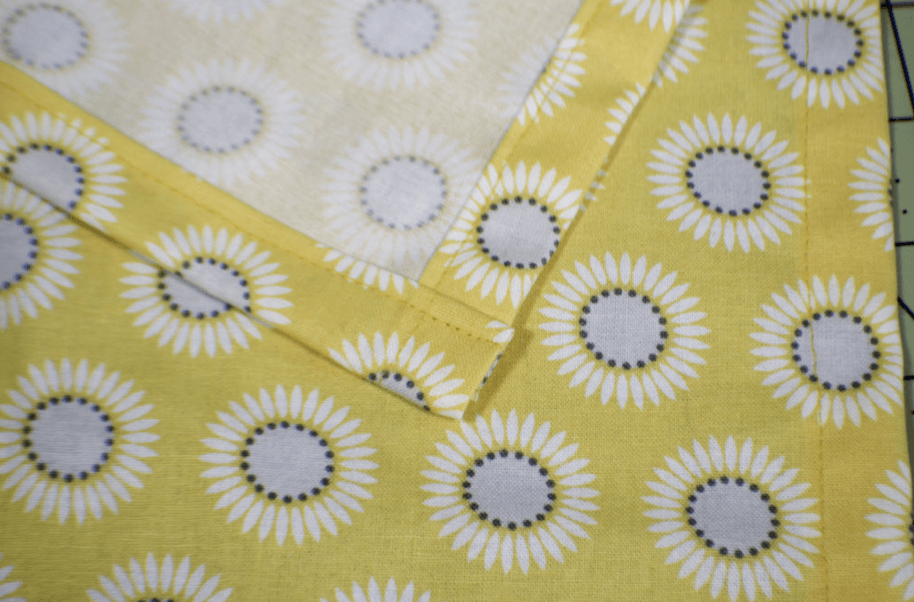
With right sides together, sew the coordinating fabric with the main fabric along the short ends. This should give you one long piece of fabric that measures 26″ x 38″. Press the seam toward the darker fabric and top stitch along the seam for a professional look.
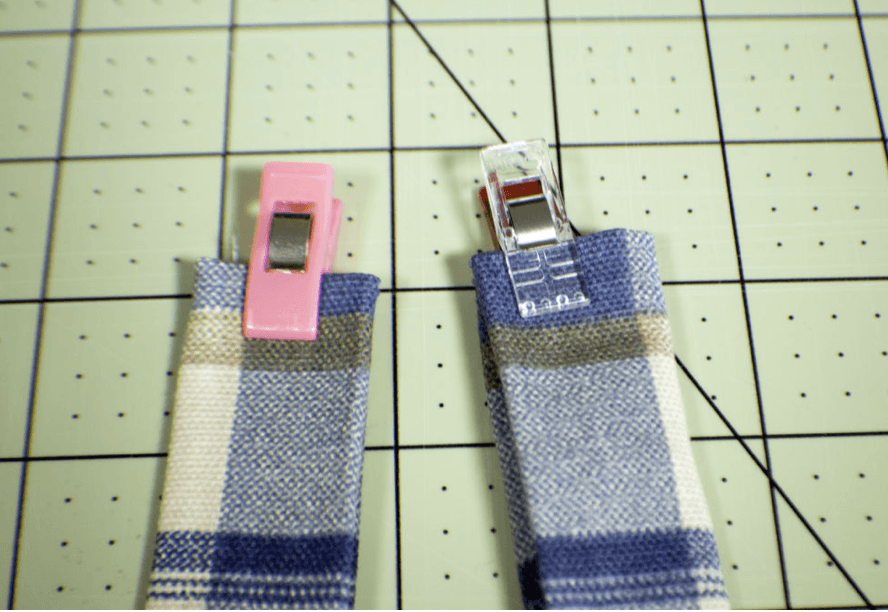
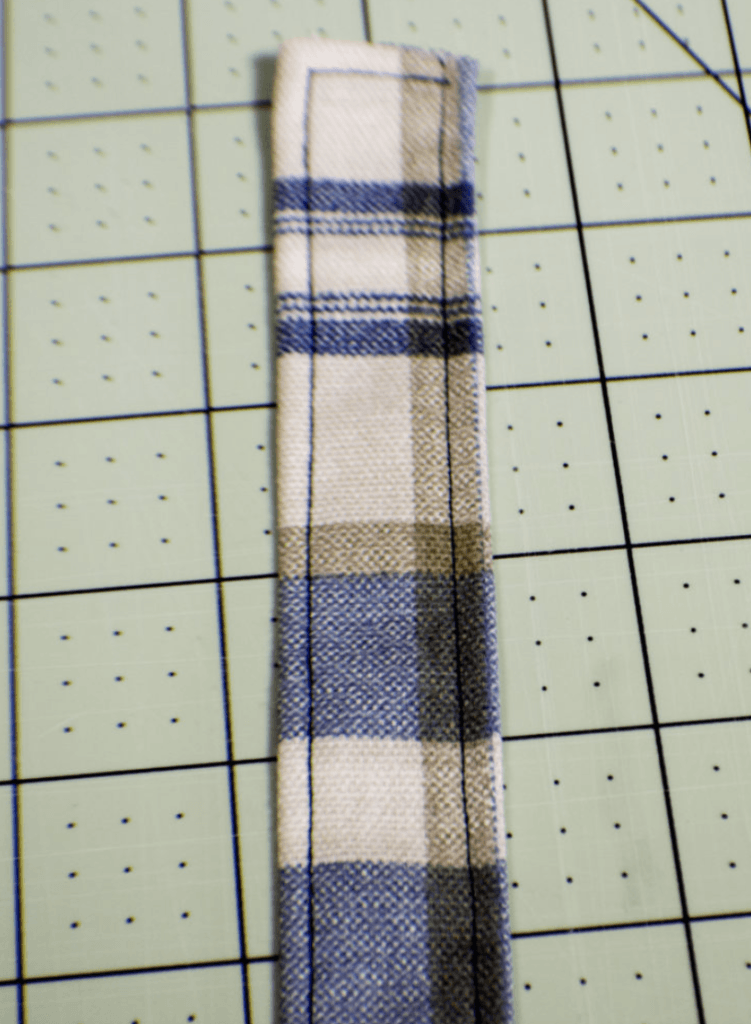
Step 2: Create the Straps
Fold each strap piece in half lengthwise and press. Open the straps then fold the raw edges to the center fold and press. Fold in half along the original fold line and press. Fold the short raw edges inside the straps and press then clip. Top stitch along each long edge for a finished look.
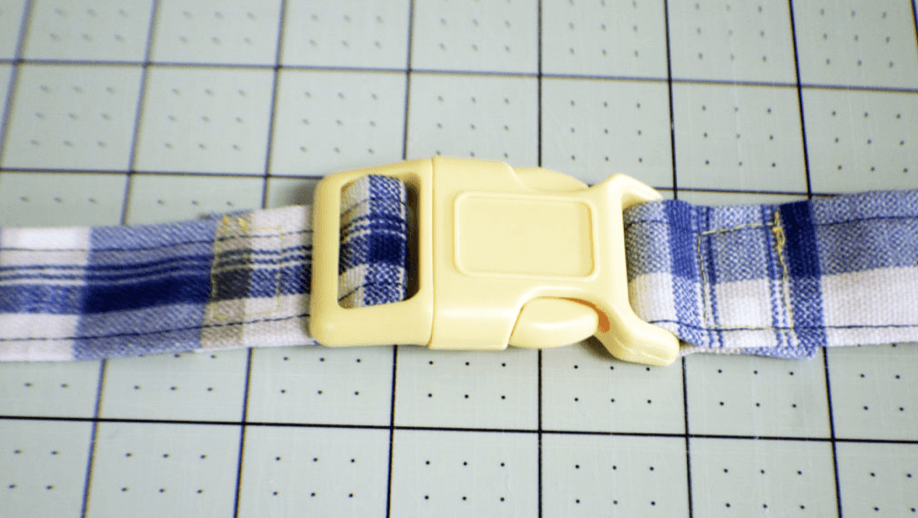
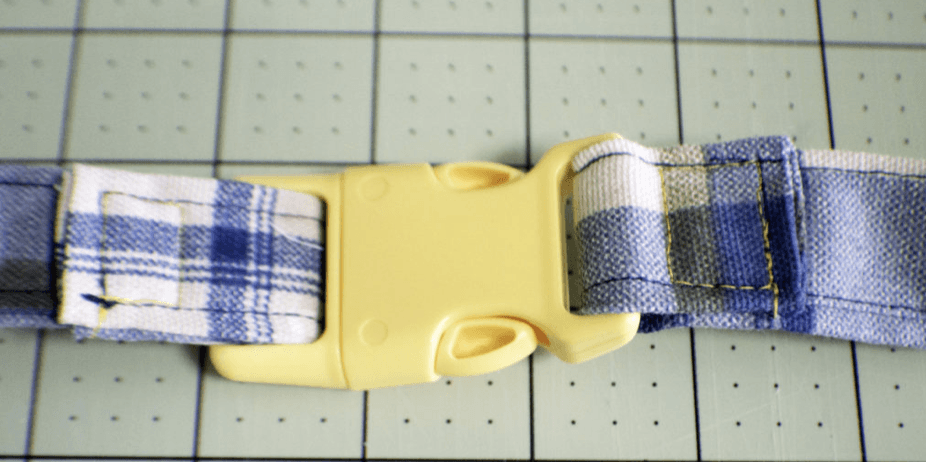
Step 3: Add the parachute clip or the D-rings
If you are adding a parachute clip, unclip the pieces and fold through the end of the long strap through one of the pieces and the end of the short strap through the other. Sew the straps using a box to firmly secure them. If using the D-rings, place both of the D-rings trough the short strap and sew in the same manner.
Step 4: Sew the Hem
On the bottom long edge of the cover piece fold over 1/2″ and press, then another 1/2″ and press. Sew along the turned edge. This is the hem of the breastfeeding cover.
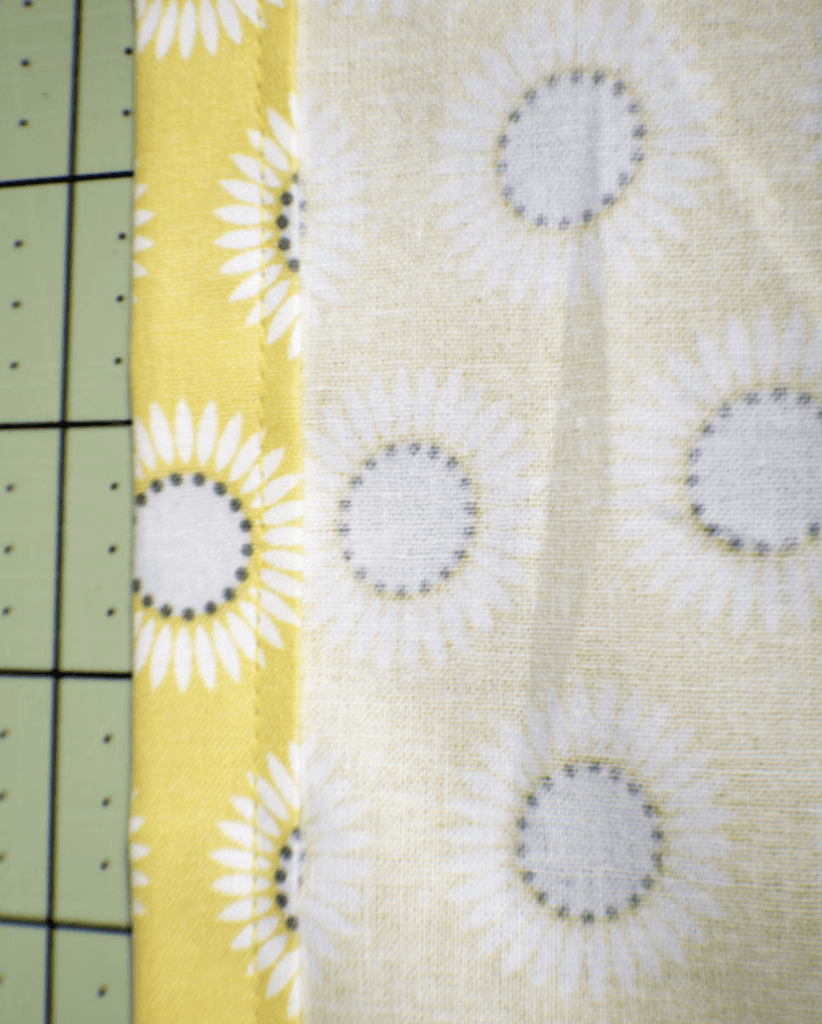
Repeat this step for the shorter sides of the cover.
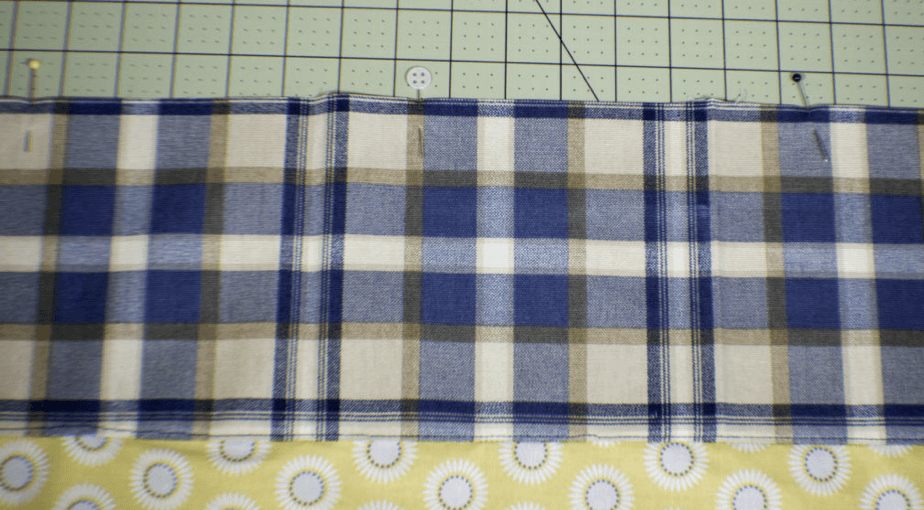
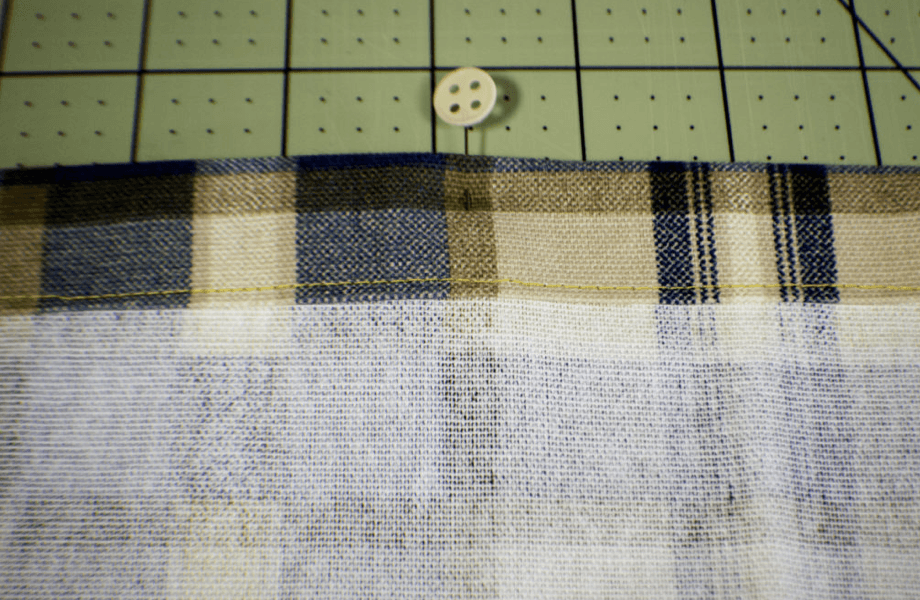
Step 5: Make a Channel for the Boning
On the top of the cover fold the raw edge 1/2″ and press. Fold again another 1″ and press. Find the center of the long top edge of the cover and mark with a pin or erasable pen. Measure 7″ toward the side from the center and mark with a pin pr pen on both sides. Sew along the folded edge from one 7″ mark to the other 7″ mark. You will be inserting the boning into the channel you just made.
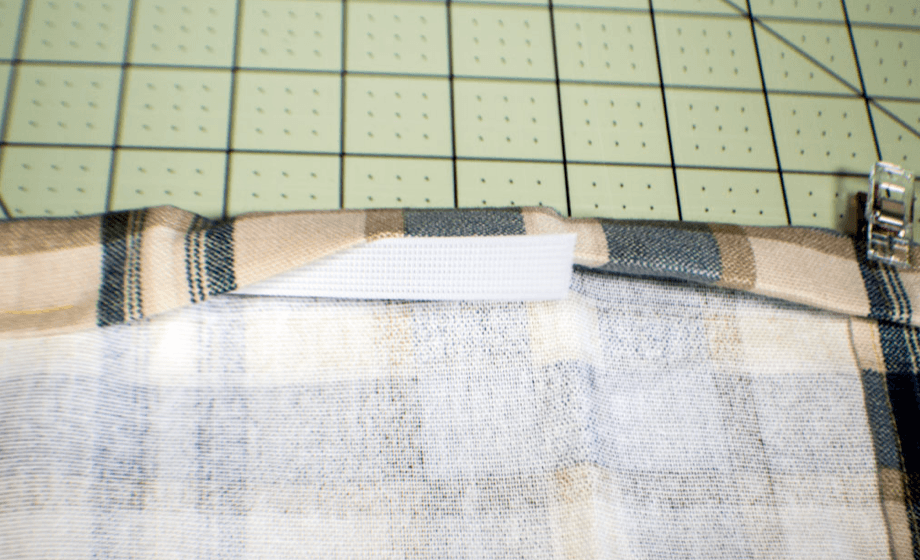
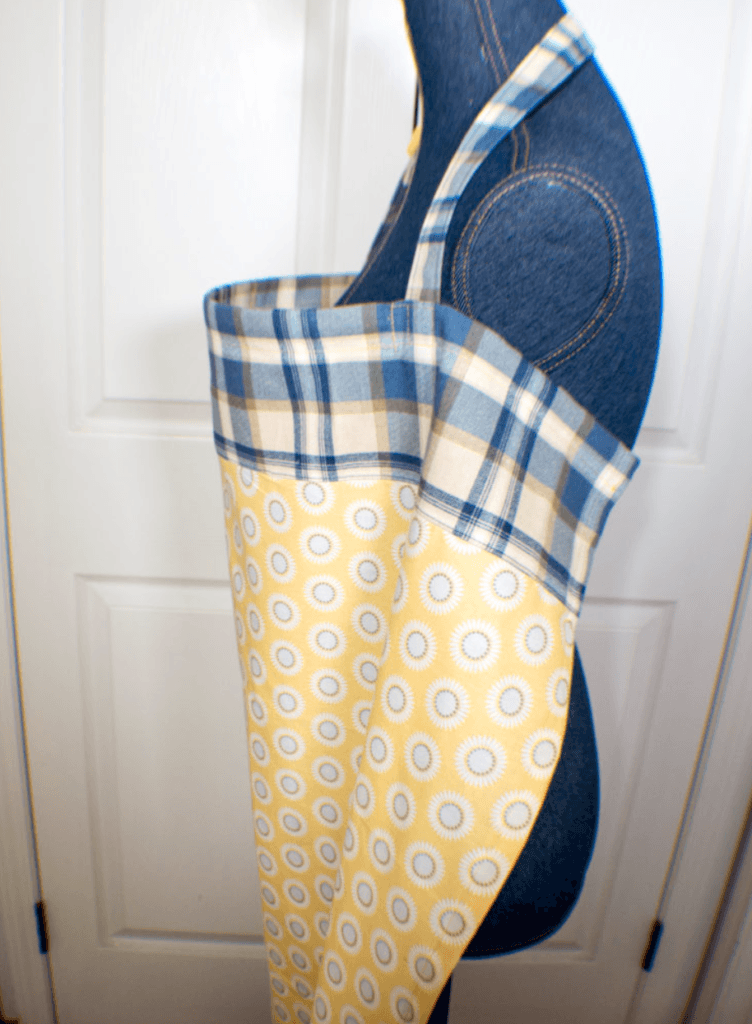
Step 6: Sew In the Boning
Boning is a curved polyester strip that is used to create a bowed effect to the front of the cover. Insert your boning into the channel that you just created with the curve facing toward you. Sew perpendicular to the hem next to the ends of the boning to secure.
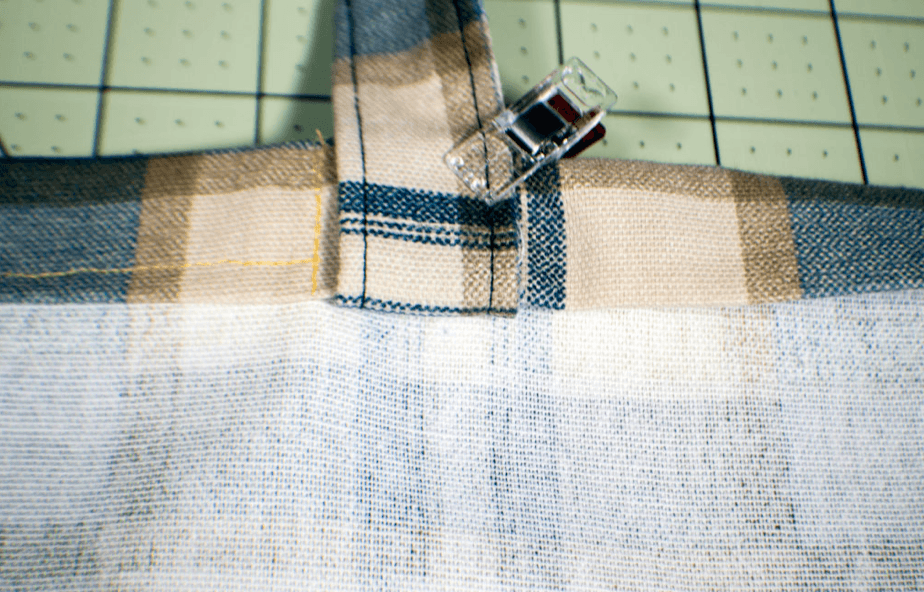
Step 7: Add the straps
Add the straps by inserting them right side up under the hem next to the boning. Fold over the hem and press. Sew the straps to the cover using a box to make sure that they are totally secure.
Step 8: Complete the Top Hem
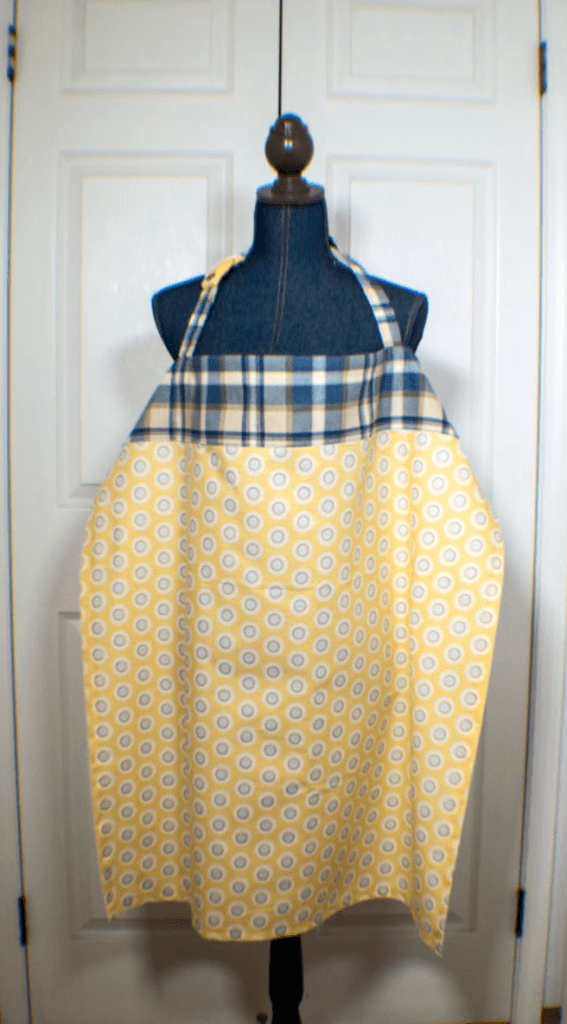
Sew the remainder of the top hem from the straps to the corners and you have completed your DIY nursing cover. I hope you enjoy making this simple breastfeeding cover.
Check out your finished product:

About the Guest Poster
I am a lifelong learner, sewing enthusiast, parent, spouse, lawyer, and die hard St. Louis Cardinals fan. I live in California with my husband and one fat dog. My kids come to visit occasionally from college, especially when it is time for laundry or they have run out of food whichever comes first. I love God and my country but am proud of my Irish heritage. I enjoy sharing my creativity and the things that I love with others. In my spare time, what little there is, I make and sell handbags and write my blog.
Be sure to follow Sew Very Crafty on Pinterest for more awesome craft tutorials! You can also find her on Facebook page at here.